Using Google Cloud Print In The Classroom: The Setup
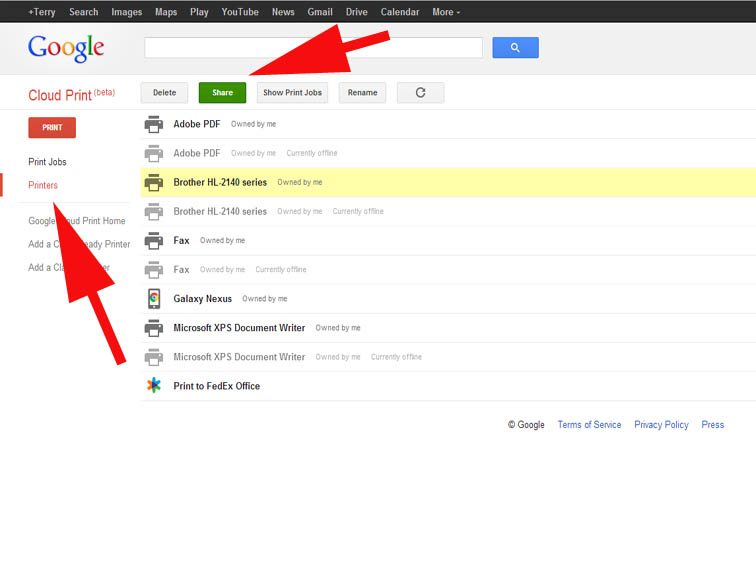
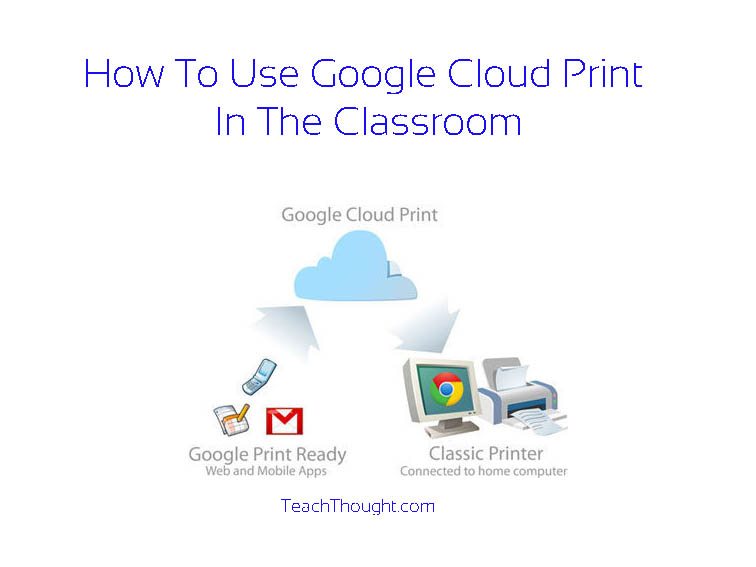
Google’s Cloud Printing is an under-the-radar technology that makes it easy to share printers, print remotely, and share documents. Google explains, “using Google Cloud Print, you can make your home and work printers available to you and anyone you choose, from the applications you use every day. Google Cloud Print works on your phone, tablet, Chromebook, PC, and any other web-connected device you want to print from.”
In part 2, we’re going to look at how teachers can get the most out of this service in the classroom, including mobile printing and collaboration. This post is more of a “how,” the follow-up will be more of the “why.” First, we need to get you setup. The first step is to make sure you have what you need:
1. Google Chrome
2. A Google account
3. An internet connection
4. A working printer
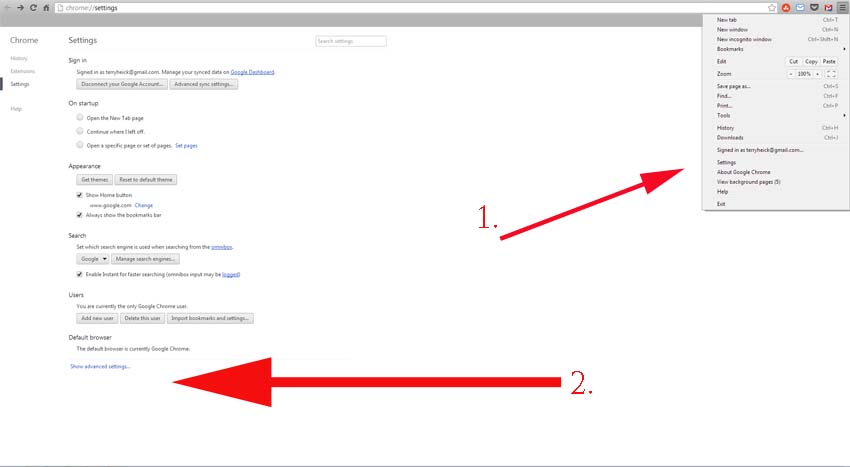
You need to use Google Chrome for the initial setup. After that, other browsers and apps–including Safari–can work.
The Setup
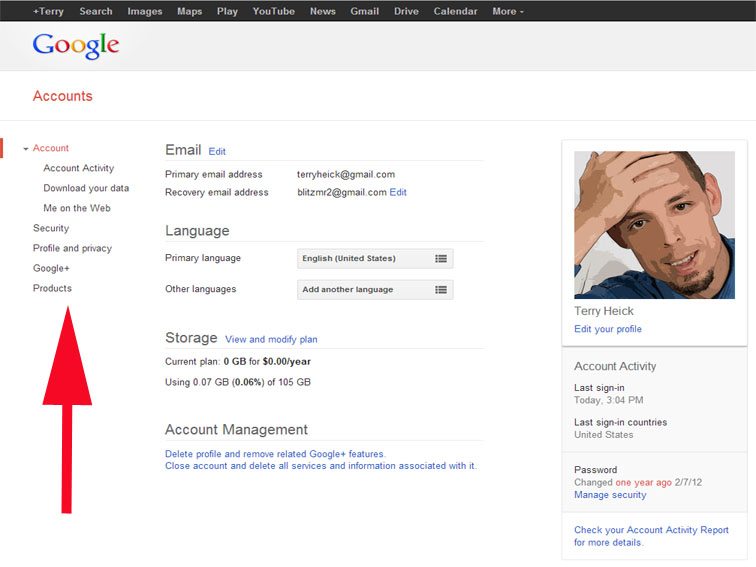
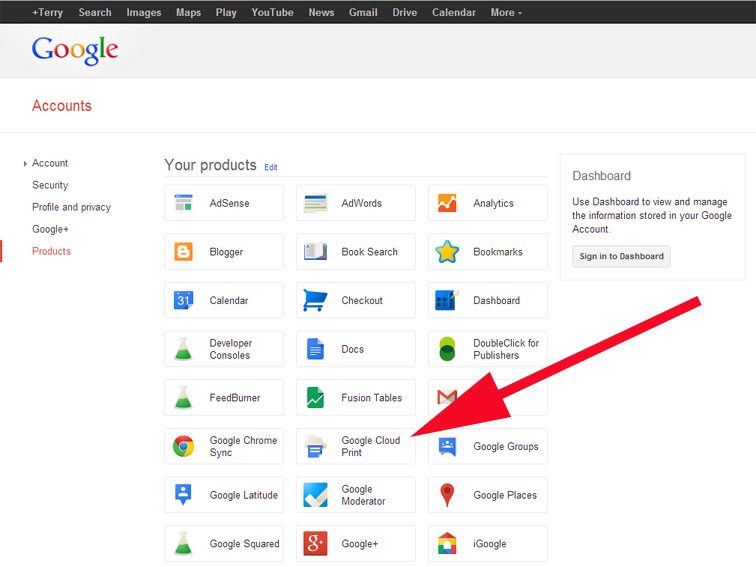
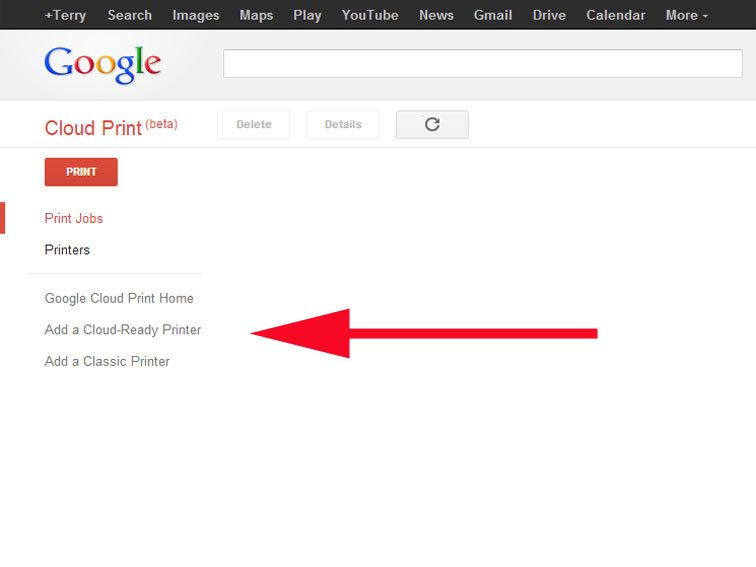
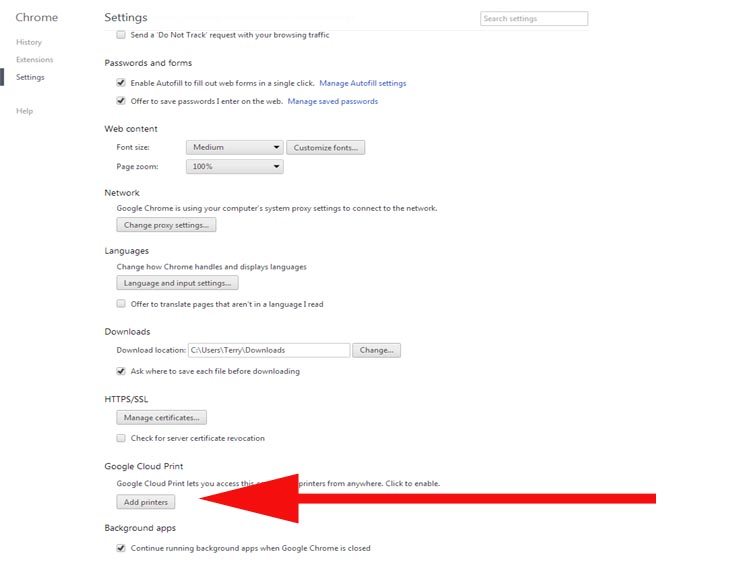
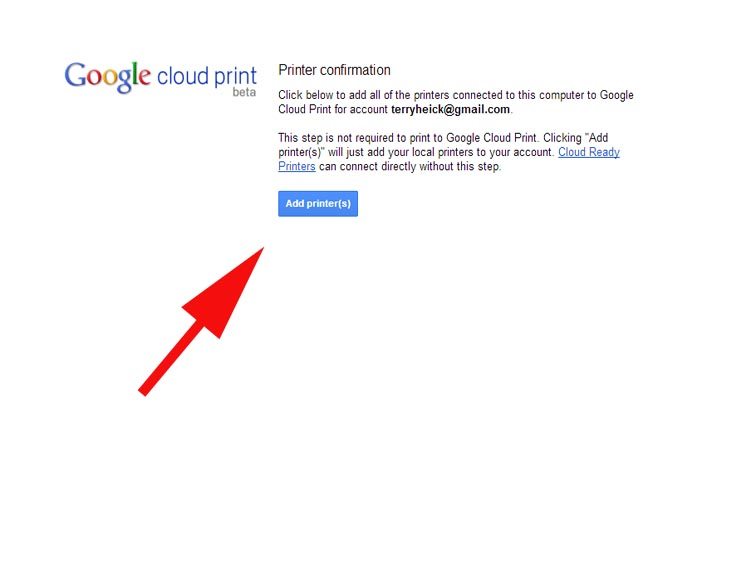
1. Once you’re signed in to Google, go to your “Accounts” and click “Products.”
Printing
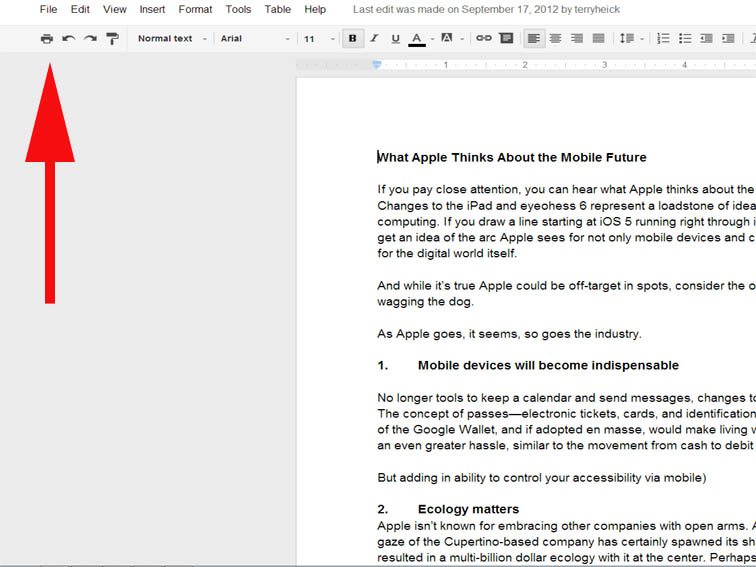
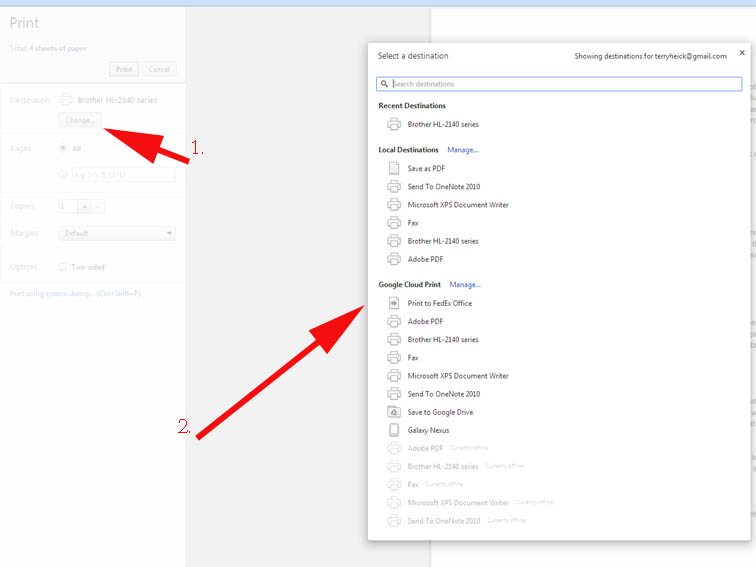
That’s it–You’re ready to print. Now that you’ve set the page up, this is your homepage for printing. To print from Google Docs, use the following steps:
1. Open up a printable file, and click the “print” icon.
